
- Ready-made bathroom templates
- Precise 3D floor planning
- 600+ materials for decoration
Compatible with Windows 11, 10, 8, 7
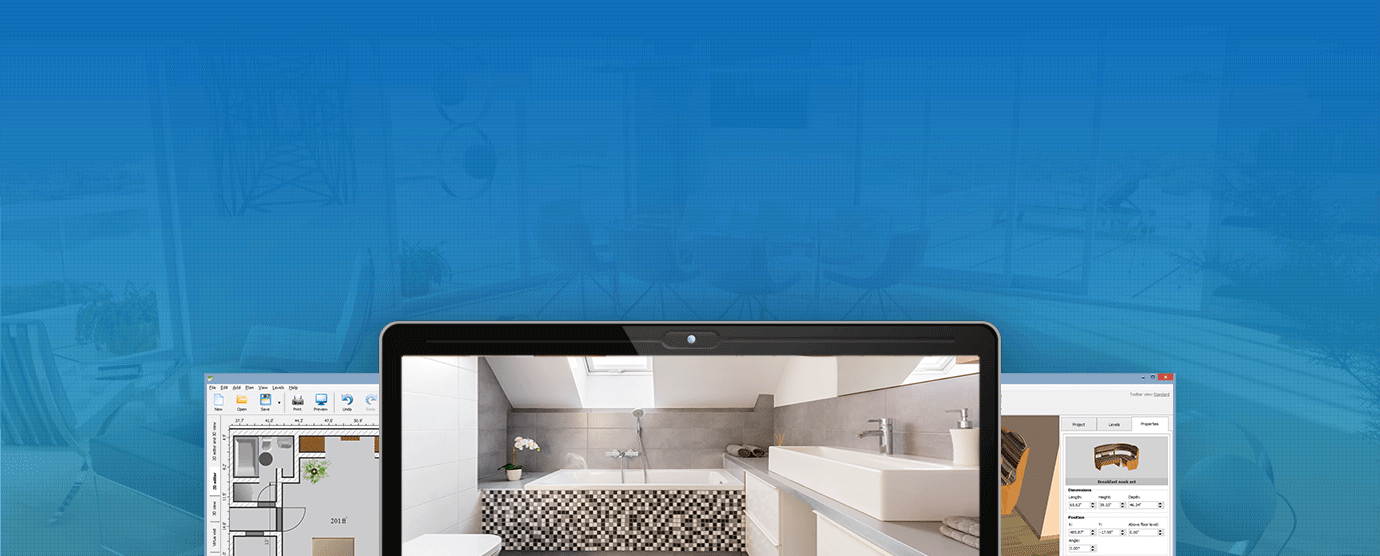
All-Round Bathroom Design Tool You’ll Love to Use

Decided to design your own bathroom? It’s not an easy task: you need to squeeze lots of things into a very small space. Should you go for a bathroom with a shower to fit in larger vanities or stick with a bath for convenience? Balancing between personal comfort and style can be a real challenge.
With powerful bathroom design software, you can not only reduce your costs but also create a bathroom design you really want. In this case, InteriorBox 3D will be your perfect choice: ready-made floor plans for apartments and rooms, a huge collection of materials and a virtual walkthrough are at your full disposal. What’s more, its 2D bathroom planner mode is very easy to master, so it’ll save your precious time.
Bathroom Design Tool: Key Features
Before we show you the steps to create a 3D bathroom design, let’s see why you might like InteriorBox 3D. These are some of the features the desktop program offers:
Beginner-Friendly Interface
If you prioritize convenience, then you'll like the intuitive interface in this software. Even first-time users can figure it out with no problem. All the necessary objects, such as doors, windows, or furniture, are grouped into corresponding folders. So, you’ll easily navigate through the tabs in the bathroom design app.
InteriorBox 3D also offers various units of measurement, from millimeters to feet and inches.
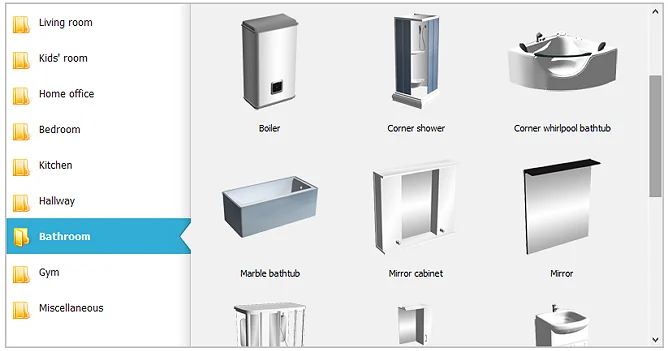
Extensive Furniture Library
In the bathroom remodel planner, you’ll find a free embedded collection of furniture for your projects. When working on your bathroom interior design, you can add a bathtub, a corner bathtub, a mirror, a sink, a rug, etc.
There are also some electrical appliances available, such as a washing machine and a boiler. By the way, you can customize each element to your liking - change their colors, material, and other settings.
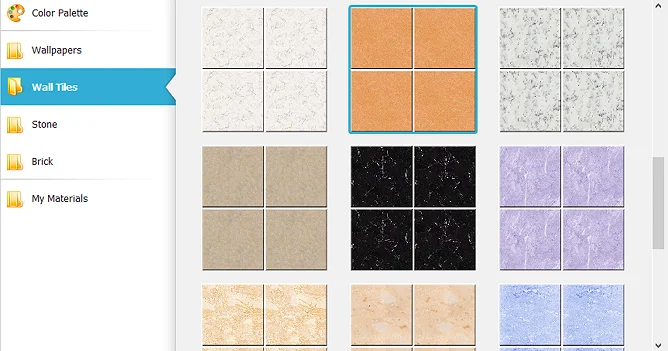
Tile Customization
Tile is one of the essential elements of a stylish bathroom design, and it’s crucial to have a wide variety at your disposal. In InteriorBox 3D, you’ll discover dozens of tile materials. You can also customize the scale of the tiles simply by dragging the slider to the left or right.
But your choice is not confined to the built-in collection. You can also upload a picture with the desired tile material to personalize the bathroom look.
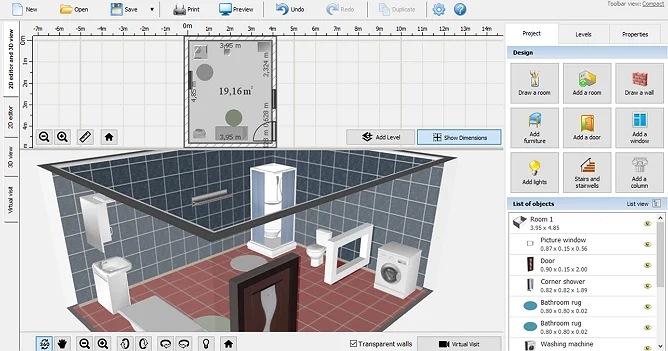
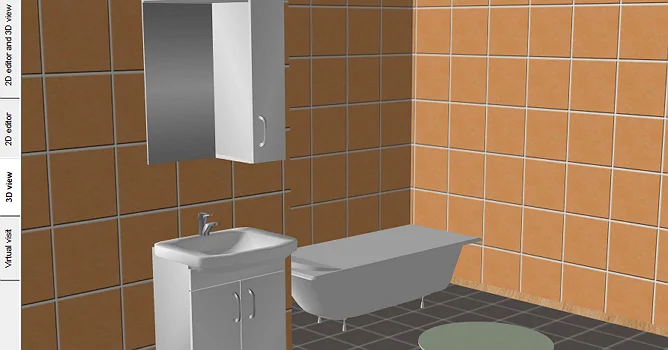
2D and 3D Modes Available
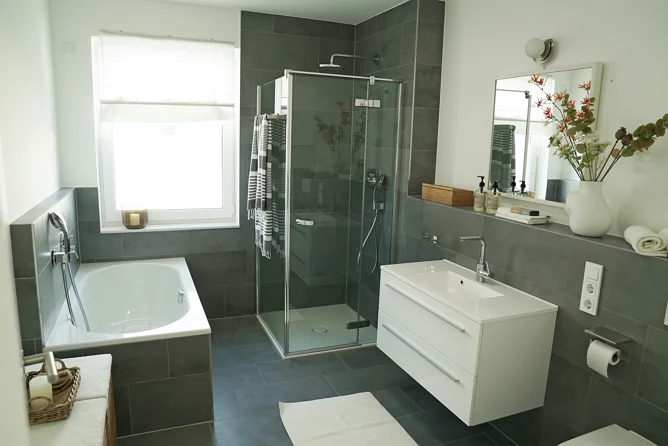
What makes this bathroom builder stand out is that it allows you to visualize your bathroom design in both 2D and 3D. You can check the project’s look in both modes simultaneously, edit it in 2D, and preview the result in 3D. There’s also a Virtual Visit mode that lets you walk around the bathroom to see the design in action.
Plus, you can view your bathroom design with different lighting settings. For example, there’s white, warm, cold, and dimmed light available.
How to Design a Bathroom in 4 Simple Steps
If you’re wondering, how do I design my bathroom without breaking the bank, then you should try InteriorBox 3D. It lets you plan your bathroom like a professional, yet spend very little time on your projects. With this 3D virtual bathroom designer, you need to follow just 4 steps to recreate your future bathroom from choosing its dimensions to picking suitable tiles or curtains.

Step 1. Draw a Room of the Required Size
If you have already found some bathroom layout ideas on the Internet, you can bring them to life and create your design from scratch. Start a new project. Simply draw your room: make a left click and drag the cursor to create a wall. Finish drawing the bathroom at the starting point. Click Show dimensions to see the total wall length.
Need a 7x10 bathroom or 5x8 bathroom? Drag the walls to resize your room. Want to add other rooms to your plan? Insert pre-designed shapes to save yourself time.
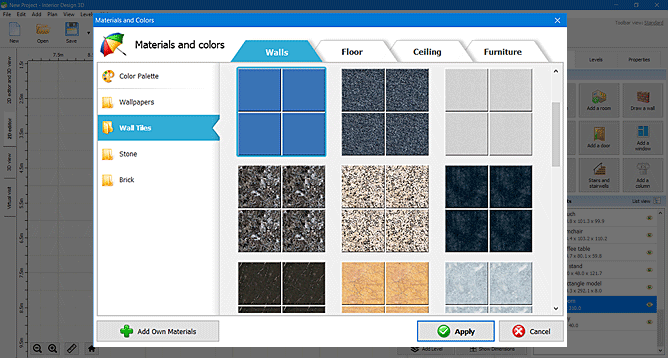
Step 2. Decorate Your Bathroom With Style
Move to Properties. Pick a suitable material for the room walls - just hit the folder icon under the Walls tab. Switch to Wall Tiles and select the texture you like. You can change its scale just by moving a slider. Switch to the Floor tab and pick the best flooring material.
Click Add Lights and choose a lamp for your bathroom. Click Show lamp sizes to see which one will definitely fit in. Hit Add to Scene and place it on your plan. Select new textures for the lamp base, arms and glass.

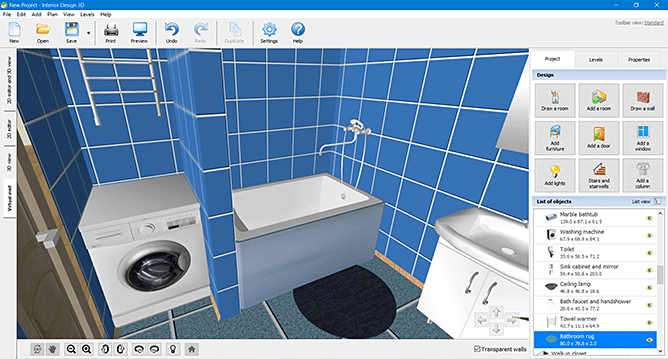
Step 3. Furnish Your Bathroom in the 3D Mode
Now click Add a door and pick one from the built-in collection: Standard, Double or Arched doors. Adjust the door size and design. Pick a new material for any part of the door: frame, handles, hinges, etc. Change the door opening direction by dragging its edge on the 2D plan.
Go back to the Project tab and click Add furniture. In the Bathroom section, you will find all the necessary things: a shower, a bathtub, vanities, etc. You can rotate and move the objects if needed. Switch to the 3D view and take a closer look at the bathroom floor plan you’ve created.
Step 4. View and Save the Bathroom
With this bathroom design tool, you can make a virtual visit and see how your creation looks in reality. Switch to the Virtual Visit tab and use the arrows at the bottom of the screen to move around. You can press the arrow keys on your keyboard as well.
Satisfied with the result? Click Save to keep your bathroom drawing as a PDF file, or hit Print to get your hands on it right away. You can print the 2D floor plan and the 3D picture on the same page if needed.
Bathroom Drawing Done With Ease
InteriorBox 3D is an easy-to-use 3D bathroom layout planner. With this program, you can save both your time and money. No more need to hire a professional designer: upload your own sketch, try different solutions before the actual construction starts, experiment with modern and classic styles, and much more.
Get a detailed plan with dimensions in no time - try InteriorBox 3D for free. Just download it from the official website and create your dream bathroom without any undue efforts!